Kurinuki Teapot: the mindfulness process of carving from a lump of clay
I’ve had lots of requests to show you guys how I make my kurinuki teapots. Kurinuki is the slow meditative process of carving from a single block of clay, resulting in pottery that is unique every time. When making a teapot this way, your final piece will not be as “perfect” as if it had been wheel thrown, but I personally love these imperfections. In pottery there can be some who focus a lot of energy on whether your teapot drips or not, but with these teapots I say embrace the drips! If you’re new to kurinuki I suggest you visit my earlier posts on carving a yunomi, gaiwan, and incense burner, as these are more suitable for beginners.
Watch the video below and I’ll take you through the steps of making a kurinuki teapot. I‘ve also made an illustrated instructional guide that you can download at the end of the post.
Preparing and shaping clay for kurinuki
Before you start, ensure the clay is well wedged so there aren’t any air bubbles in the clay, you can refer to my post on reclaiming and preparing clay for more information. Kurinuki is all about carving from a single block of clay and we can make this process easier by moulding the clay into a similar shape to what we want our final piece to be. So, I shaped my clay into a general teapot shape with a spout. I find it easier to wedge and shape the clay while it’s on the softer side and then leave it to dry a little and firm up before I come to carve it.
Forming the lid of the teapot
Place your lump of clay on a banding wheel; if you don't have one of these you can just use a piece of cardboard to help you move the clay around. First, cut a cone from the top of the piece of clay which will form the lid of the teapot. I’m afraid the film cut out at this part, but I have drawn an example of this in the illustrated guide that you can refer to (free download at the end of the post), and this same method is also used in my kurinuki gaiwan tutorial video. I use a loop tool and my fingers to shape the lid with a hollow knob at the top that will help with holding the teapot lid while pouring the tea.

Carving the general teapot shape
After the lid has been removed, carve the inside using a large loop tool to hollow out the teapot. Keep the walls fairly thick at this point because we’ll be carving the outside as well, about 1.5-2 cm thickness is good for now. I usually have flat bases on my teapots rather than a raised foot ring, so keep the base to about 1 cm thick. You can measure the thickness of the walls and base by sticking a needle tool into the clay.
This teapot will have a handle attached in an arch shape above the lid. I carved two attachments for the handle, in front and behind the lid so it could be fastened with string or wire. I did this by using a large loop tool and my fingers to mold the clay into a small protrusion. I then go on and carve the general teapot shape I want.
Forming the gallery for the lid, and spout
To make a hole in the spout I use a tool to bore a hole in the clay, if you don't have one of these you can use a straw (the metal reusable ones are perfect). It’s important to make a gallery for the lid to sit on. I do this by pushing clay from the circular opening down to make a little step, using my fingers and a blunt wooden knife tool (if you don’t have one of these you can use a lollipop stick). Place the lid on top to ensure it fits then clean up the gallery using a damp sponge. Leave your teapot out to dry a little and firm up before carving the outside.
Carving the outside while the clay is leather hard
Now that we have the general shape of the teapot carved we can carve our decorative patterns and cuts. These will be visible on the finished piece so it’s important to be more thoughtful in the placement of these. It’s preferable to have your clay on the harder side of leather-hard so that it’s soft enough to carve easily but firm enough so that the shape doesn’t distort while carving. During this final carving, aim to reduce the weight of the teapot by trimming the walls just enough so that they are thin but still strong.
Experiment with different types of tools to give varying textures and effects, for my kurinuki teapot I like to use Polyfilla spatula tools because they’re thin and flexible which gives smooth cuts that I end by tearing the clay off, giving texture to the piece. I also clean up the edges of the handle attachments and poke two holes in the middle with a needle and small knife. Then ensure the base of the teapot is nice and flat by running a metal rib over it and then smoothing it over with a damp sponge.
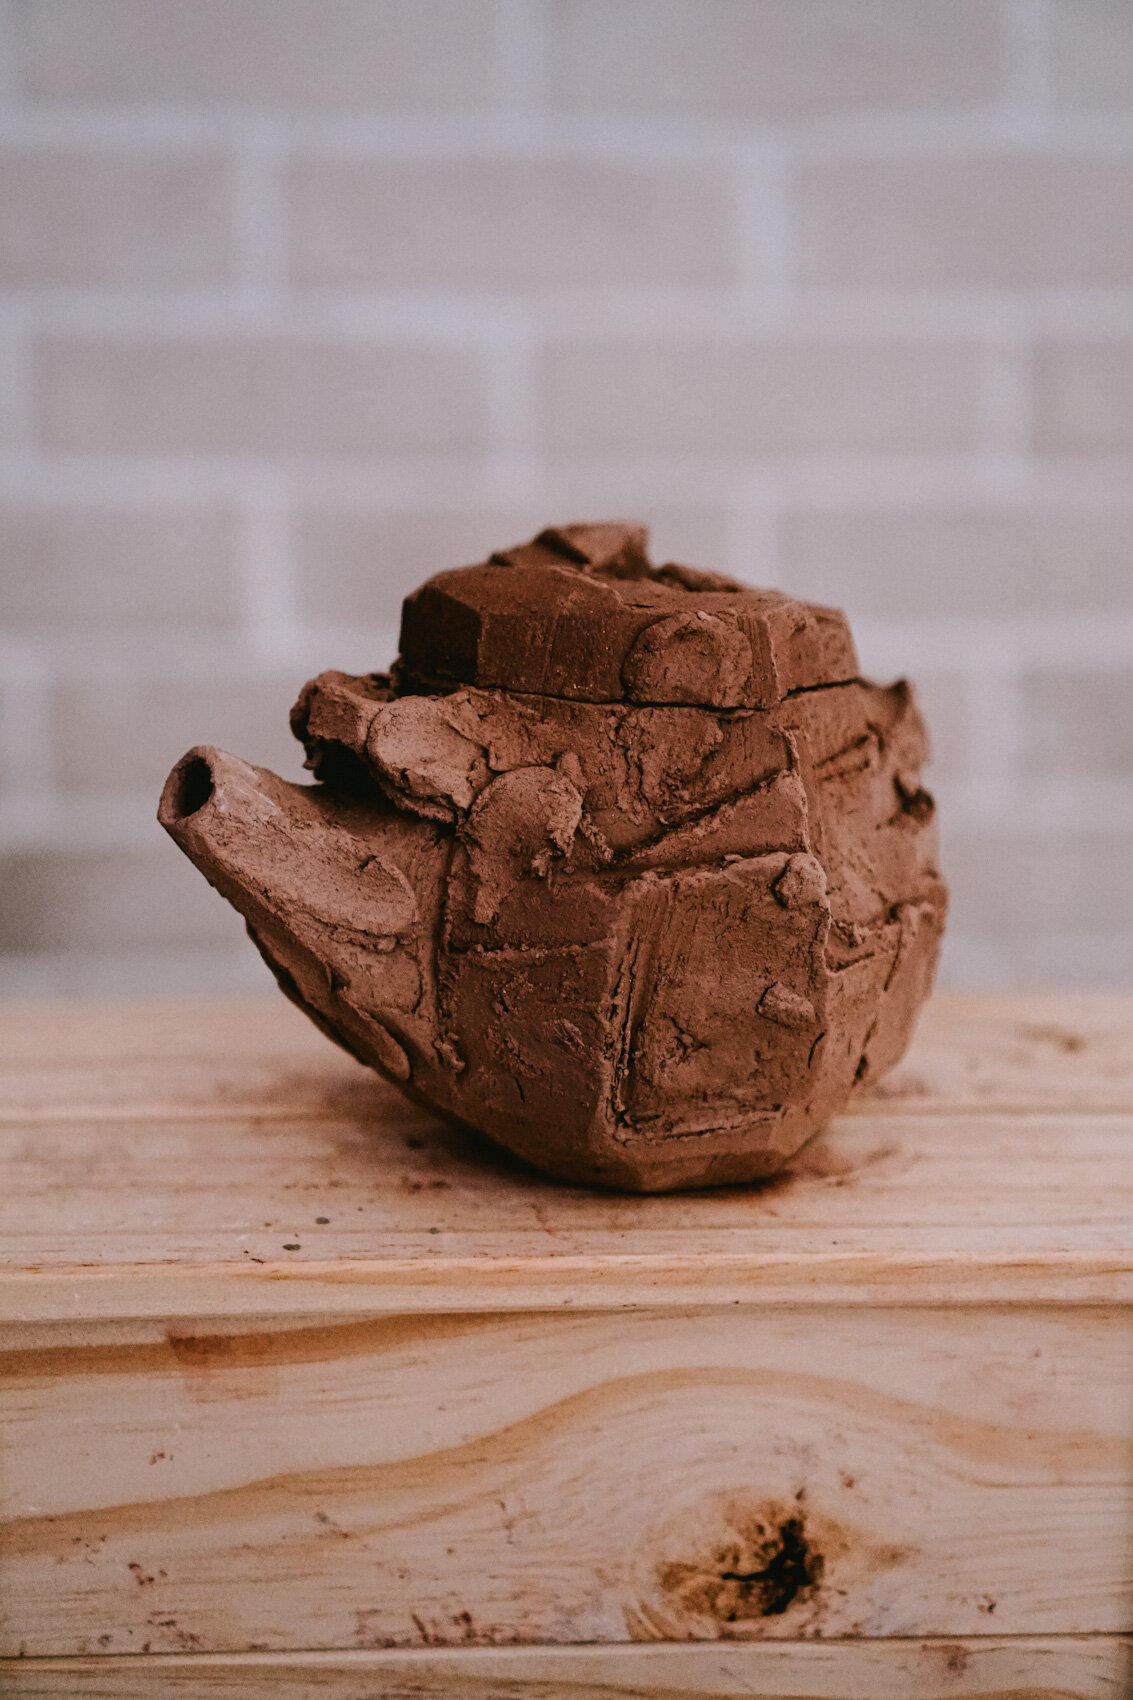
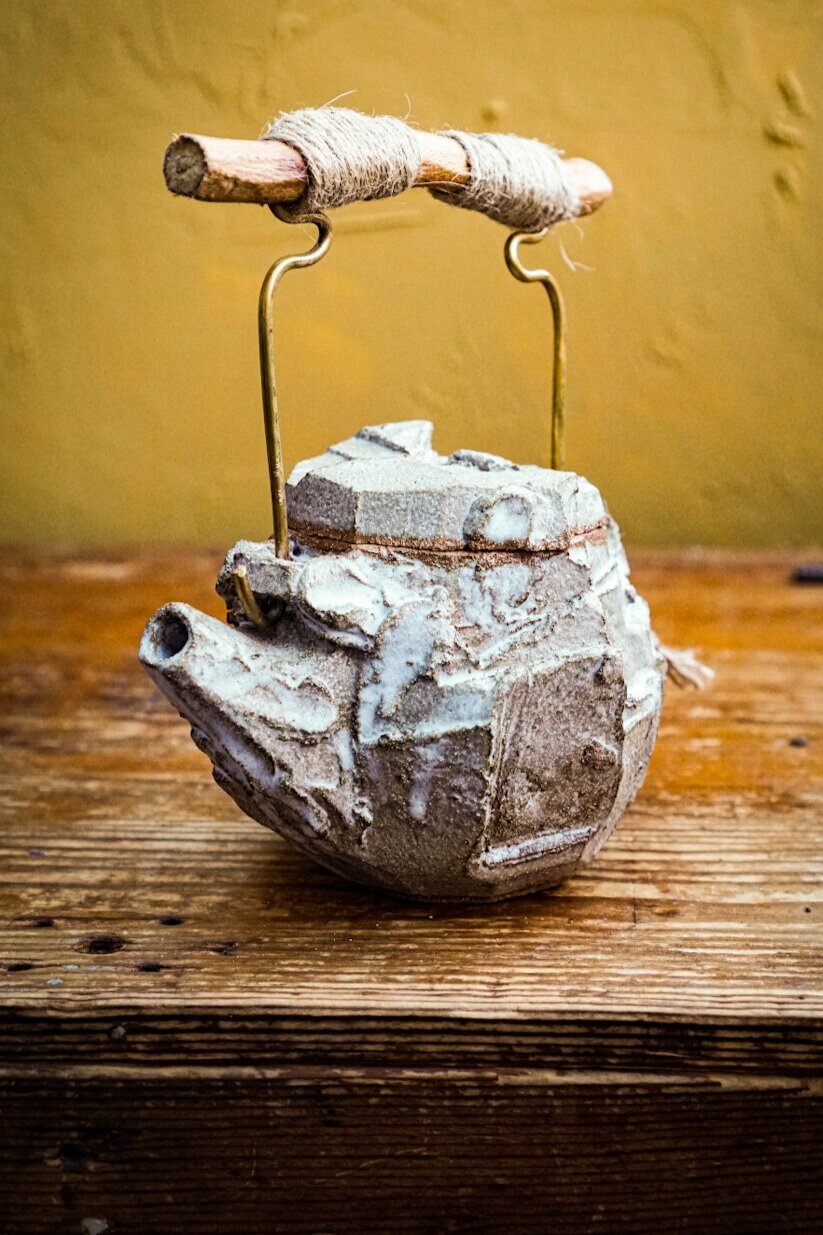
Left photo shows a teapot at the greenware stage before firing and the right photo is after glaze firing and attaching a handle
Adding finishing touches to the lid
I always do the outside carving of my teapots with the lid on as I want my facets and carvings to extend from the lids to the body of the teapot. This helps your piece fit together as one and look like it was carved from one piece of clay. The irregular nature of kurinuki means that the lid will only fit on the teapot one way. I carved a small triangle out of the knob at the front and back so that I knew which way the lid fits on the teapot. You can also mark a line on the lid and base that needs to be lined up. When you are happy with how the lid looks on the outside you can remove some clay from the bottom so that it is more of a dome shape on the inside. In the video I show you how to carve a decorative swirl in the bottom. Finally, sponge your piece to smooth out any areas and compress the edges.
I hope you found this helpful, and I would love to hear about your pottery journey - come and find me on Instagram @blankearth. I will be posting more pottery tutorial videos on my YouTube channel Blank Earth Ceramics. You can view my work in the gallery and my shop gets updated with new pots a few times a year so please sign up to my mailing list if you want to get early access and be notified when the next shop opening is.
Happy Pottering!
Supatra x

Download a quick-reference how-to guide on carving a kurinuki teapot