How to Reclaim and Prepare Clay Using the Spiral Wedging Technique
This post is the first in a series on pottery for beginners from the Blank Earth Ceramics Pottery Blog, and is all about reclaiming and preparing clay for hand-building or throwing on the wheel. Please watch this video to see how I reclaim and wedge clay and read on for a more detailed description. I’ve made an illustrated handout for quick reference, which you can download at the end of the post.
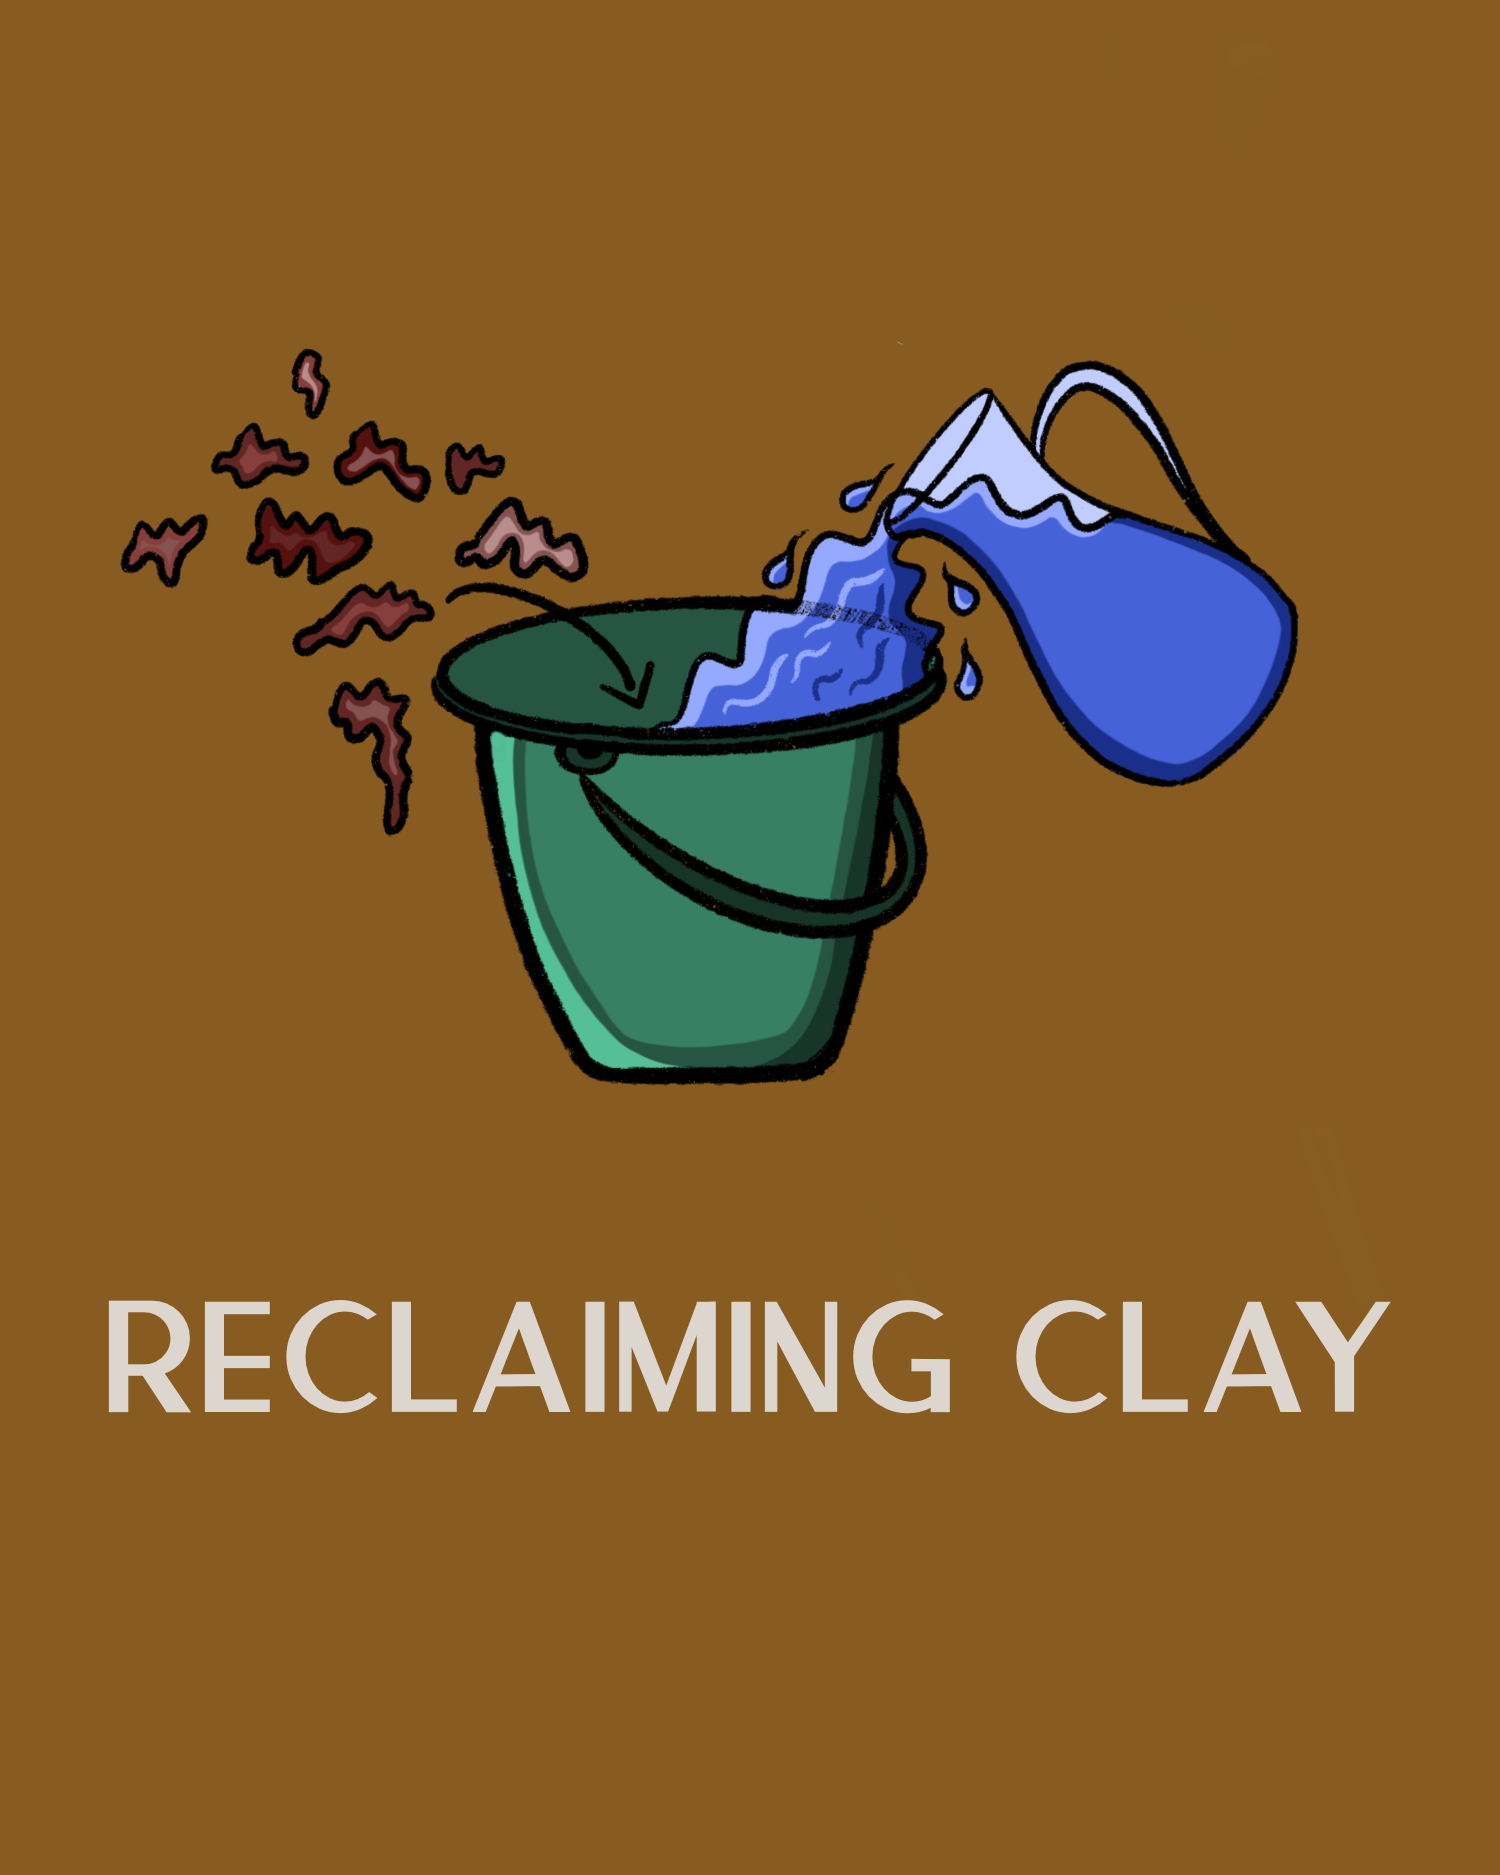
Reclaiming Clay
One thing I love about pottery is that you can keep reclaiming and reusing your clay over and over until you have perfected your piece. This means there’s very little waste. If you don’t want to keep something you’ve made, just reclaim the clay to use again! You can keep practising over and over until you’ve mastered making a bowl, for example.
The process of reclaiming clay is very easy; you just need a bucket or lidded box (e.g. a Tupperware box) to put your scraps of clay into. It's best to let your clay scraps dry out and then add water to rehydrate the clay particles over about a week or so. You can keep checking the clay during this time to keep an eye on the consistency. If it’s too dry, add some more water, and if it's very wet you can just remove some of the excess water by mopping it up with a bit of kitchen roll, or leave the lid off so the water can evaporate. Over time the dried clay scraps will rehydrate and you can use your hand or a stick to mix up the recycled clay for a more homogeneous consistency.
The recycled sloppy clay can then be spread out on a plaster bat to suck any remaining excess water from the clay. If you don't have a plaster bat you can also spread the clay on a porous wooden board, the process will just take a little longer. The clay will dry out quite fast on the plaster bat so keep checking the consistency every 1-2 hours.
Preparing clay by spiral wedging
Once the recycled clay has firmed up you can start with the wedging process, in the video, I use the spiral wedging technique. Wedging the clay helps to remove air bubbles and gives an even consistency to the clay. Spiral wedging uses a rocking motion with your hands gripping the clay at the top and pressing the clay down a little to the left (anti-clockwise). Repeat this motion by rotating the clay anti-clockwise and grabbing the adjacent bit of clay at the top. This will give you a spiral shape like a shell. This technique, like other forms of wedging, takes practice, so keep persevering with it and you’ll get there in the end!
How to make sure your clay is not too hard and not too soft, but just right
Once we have reclaimed our clay we need to make sure we are working with clay of optimal firmness. This is important because if the clay’s too hard it can put strain on our joints when working with it. If throwing, it will also be much harder to centre on the wheel. However, if the clay’s too soft it will become very challenging to work with whether you’re on the wheel or hand-building, as it’ll collapse easily. Judging the firmness of clay is something that will be second nature the more you work with it but we are looking for a firmness a little harder than Play-Doh. You can wedge soft clay into harder clay so it gets to that goldilocks consistency - just right!
I hope you found this helpful, and I would love to hear about your pottery journey - come and find me on Instagram @blankearth. You can view my work in the gallery and my shop - the shop gets updated with new pots a few times a year so please sign up to my mailing list if you want to get early access and be notified when the shop opens.
Happy Pottering!
Supatra x
Download a quick reference how-to guide on reclaiming clay!

